


Everything you need to start and finish your first real tufting project
✨ Want to try tufting, but don’t know where to begin?
A mini rug is the perfect first project: small, creative, and super satisfying. In this beginner-friendly guide, we’ll walk you through every step – from choosing your design to adding the finishing touches.
1. Pick a simple design
Start small and clear!
Choose a shape or pattern that’s not too detailed. Think smiley faces, waves, hearts, simple lettering – something fun and achievable. Round or square rugs work best for starters.
2. Gather your materials
Here’s what you’ll need:
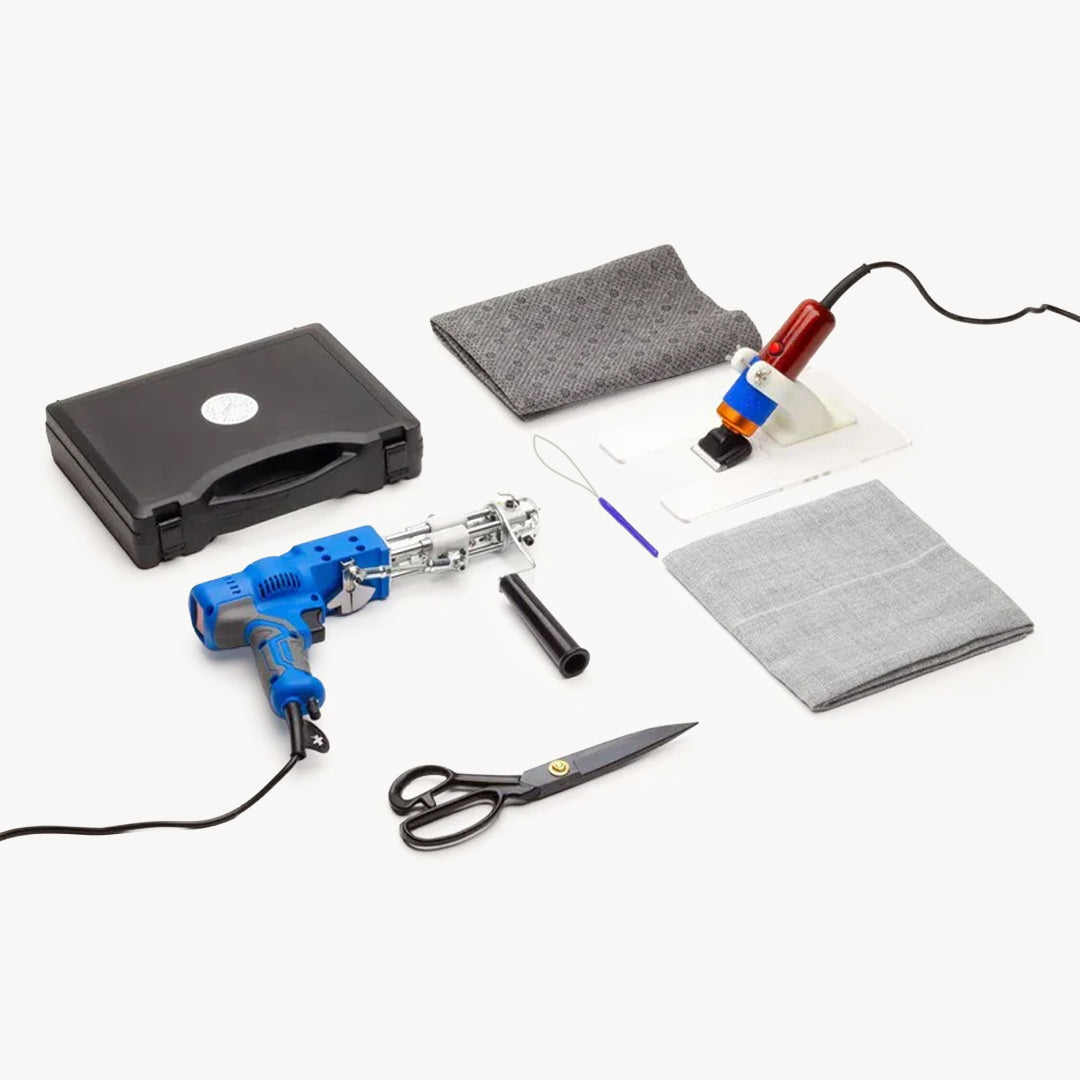
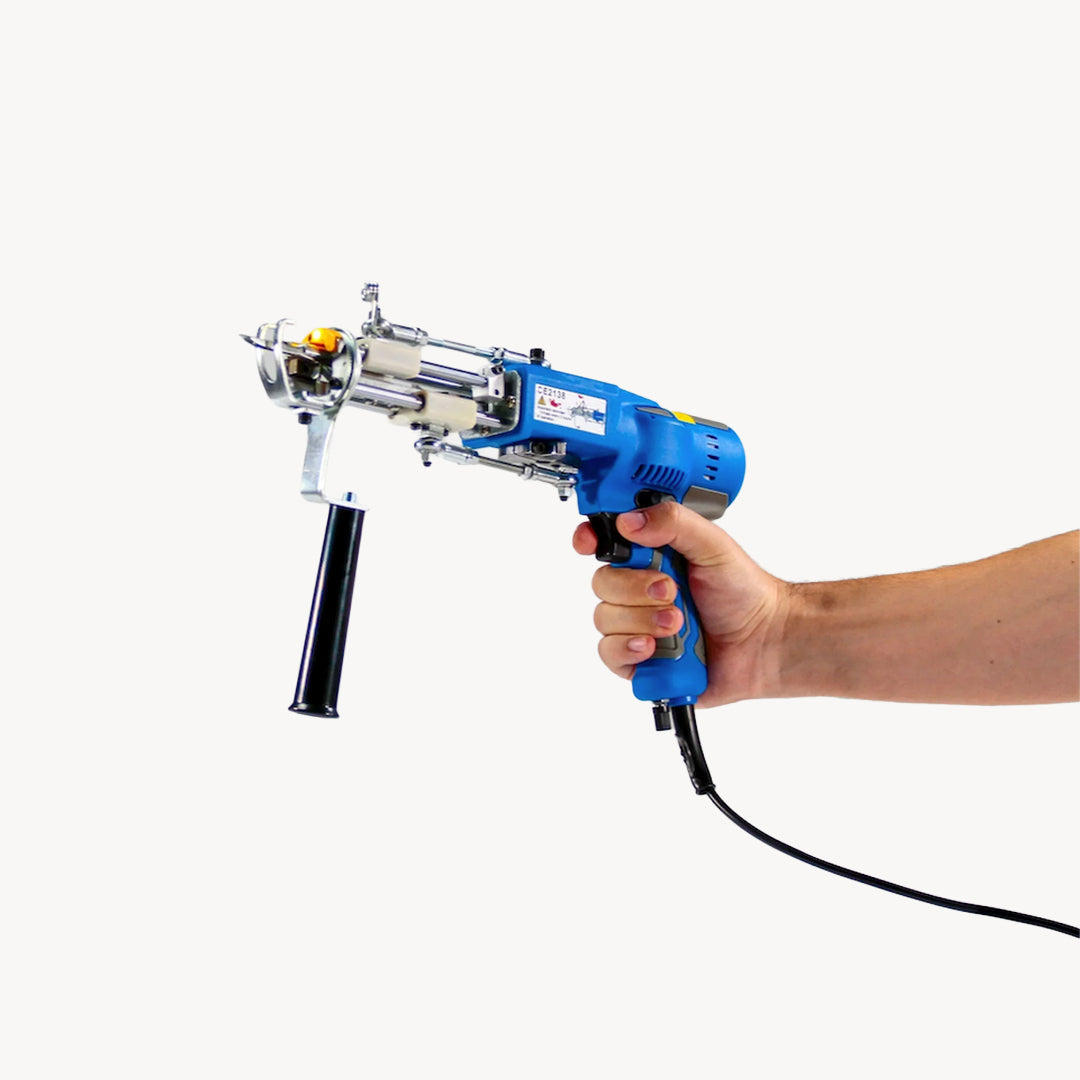
• A tufting gun (cut pile is most common)
• A tufting frame with stretched cloth
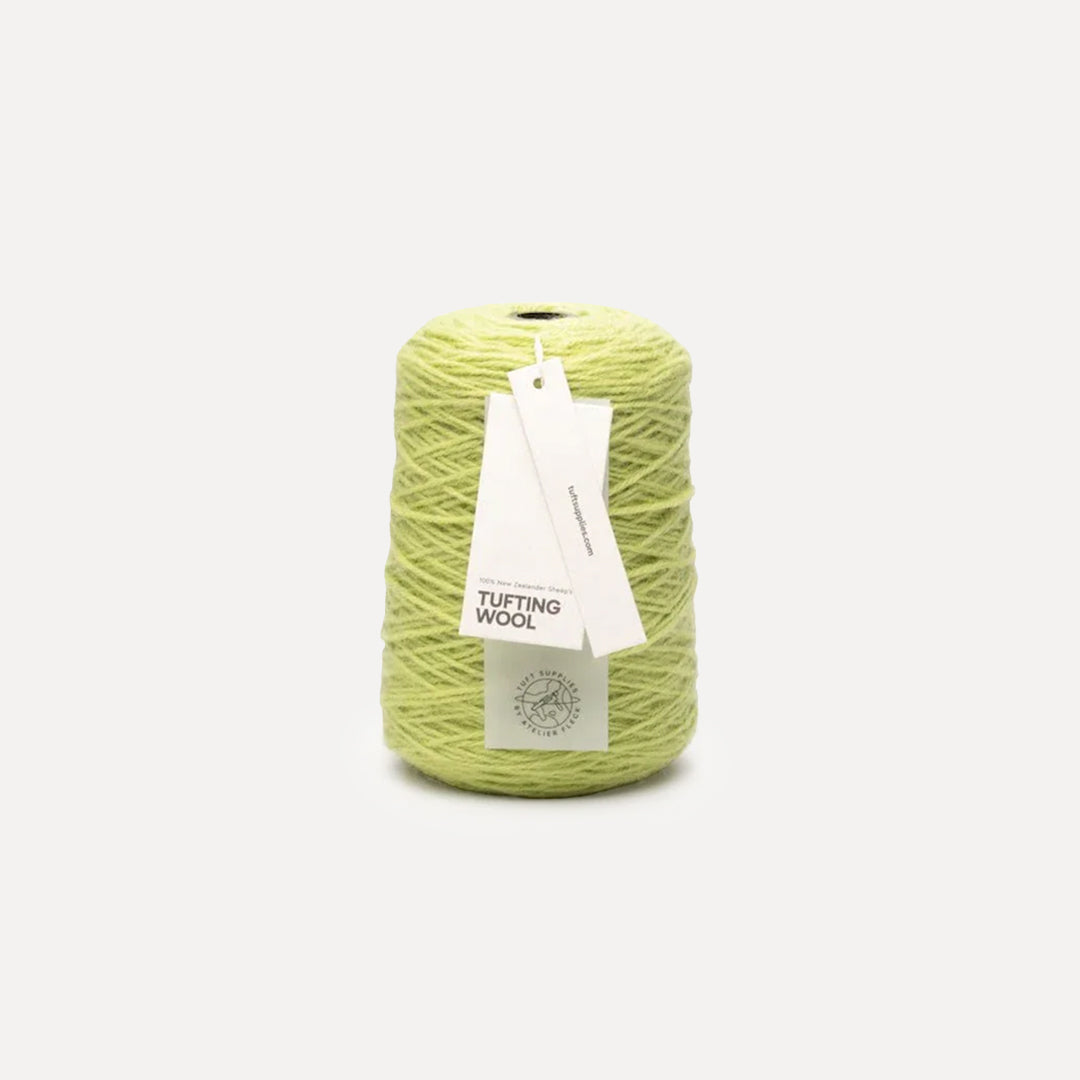
• Tufting yarn (wool or acrylic)
• Yarn threader & scissors
• Carpet glue
• Backing fabric & glue brush
👉 Starter Kits are great if you’re just beginning!
3. Set up your frame and transfer your design
Use a projector, tracing paper, or draw freehand onto the cloth with a marker. Make sure your fabric is stretched tight – like a drum – for best results.
4. Start tufting!
Follow the lines slowly and evenly with your tufting gun. Take your time – it’s not about speed. Don’t forget to check the back side every now and then to make sure the yarn is holding properly.
5. Trim, glue & finish
• Apply glue to the back
• Let it dry completely
• Cut the rug out of the frame
• Trim the surface with scissors or a trimmer
• Add a backing (felt or non-slip)
🎉 Done! Your first mini rug is ready to use, gift, or hang.
💡 Extra tips for a clean finish:
• Use sharp scissors for shaping
• Clean up loose fibers with a lint roller
• Optional: brush your rug to lift the pile evenly
🧵 Final thoughts
Your first tufting project doesn’t need to be perfect – just yours. Starting with a mini rug is a great way to explore this craft, build confidence, and create something beautiful. Need materials? Check out our starter kits and yarn bundles to get going today.


