Tufting for Beginners: The Complete Getting-Started Guide
Tufting is having a moment — and for good reason. With a tufting gun and a bit of practice, you can create your first handmade rug in just a few hours. Sounds good? This guide walks you through everything you need to know: what gear to buy, how to get started, and which mistakes to skip entirely.
What Is Tufting?
Tufting is a textile technique where yarn is punched into a stretched backing cloth using an electric tufting gun. The result: a dense, plush pattern that you design entirely yourself — from simple geometric shapes to detailed artwork.
What was once reserved for industrial carpet factories is now fully accessible to everyone. The tufting community is huge, creative, and incredibly welcoming — perfect for beginners.
What Do I Need to Start Tufting? The Basic Setup
You don't need much to get started. These four things are the bare minimum:
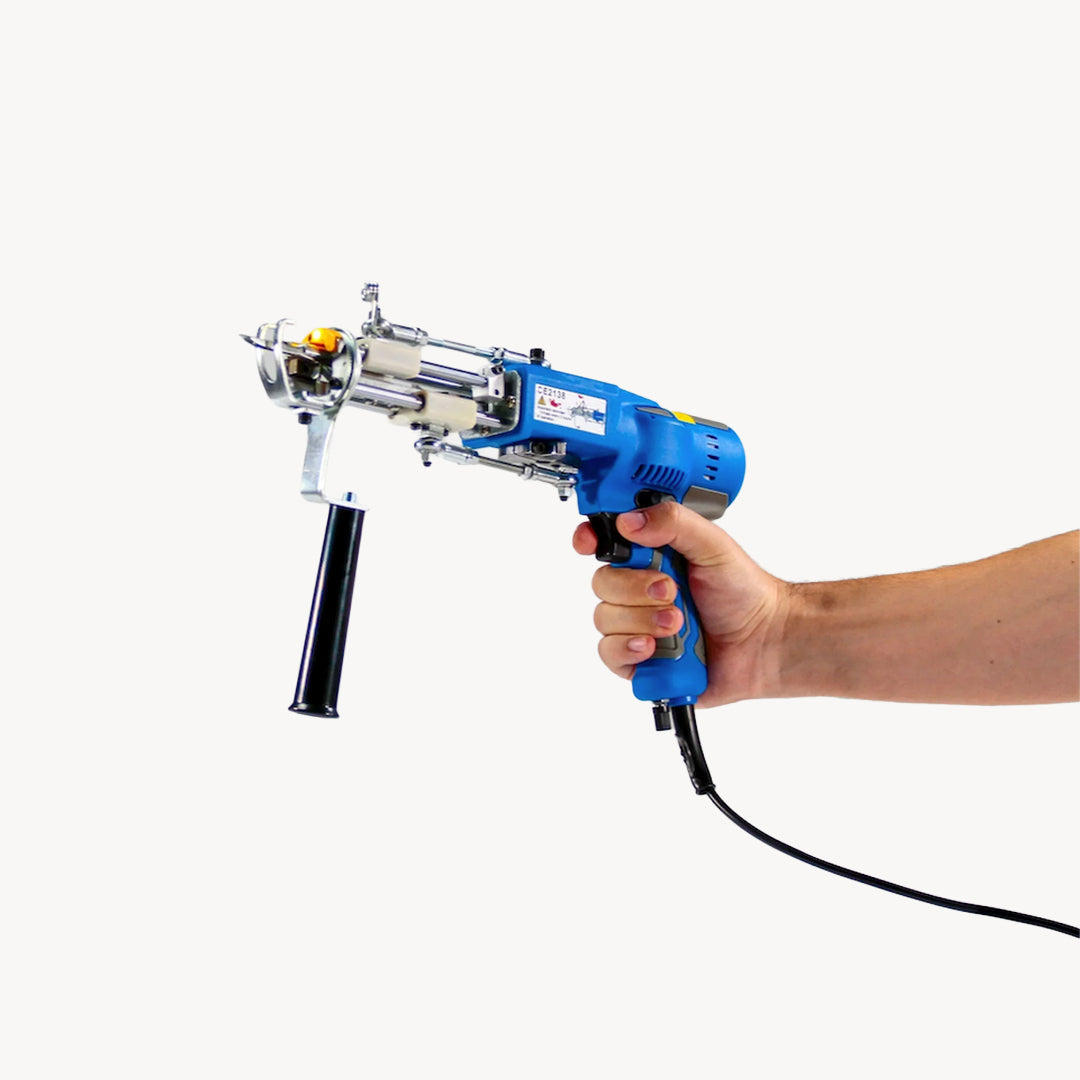
1. Tufting Gun (the machine)
The tufting gun is the heart of the whole craft. There are two main types:
- Cut Pile Gun: The yarn is cut as it's punched in, creating a soft, fluffy pile — like a classic rug. Easiest to use and great for beginners.
- Loop Pile Gun: The yarn stays as a loop, creating a more structured, durable surface. Great for geometric patterns.
- 2-in-1 Gun (Cut & Loop): Combines both techniques. More versatile, but slightly more complex to handle.
Our recommendation for beginners: Start with a cut pile gun. It's easier to control, and the results look great right away.
👉 Browse all tufting guns at Tuft Supplies
2. Tufting Cloth (Monk's Cloth / Primary Tufting Cloth)
Tufting cloth is the base fabric you punch your yarn into. It gets stretched tightly over a frame and needs to be sturdy enough to hold the tension.
Important: not just any fabric works for tufting. Always use purpose-made primary tufting cloth — it has the right weave density for the gun to punch through cleanly.
3. Frame
Your tufting cloth needs to be stretched tight — otherwise the yarn won't hold and the gun won't grip properly. You have two options:
- Ready-made tufting frame: Convenient, sturdy, and ready to go straight out of the box. The easiest option for beginners.
- DIY frame: A simple frame can be built from timber battens. More affordable, but requires some time and basic carpentry skills.
👉 Tufting frames at Tuft Supplies
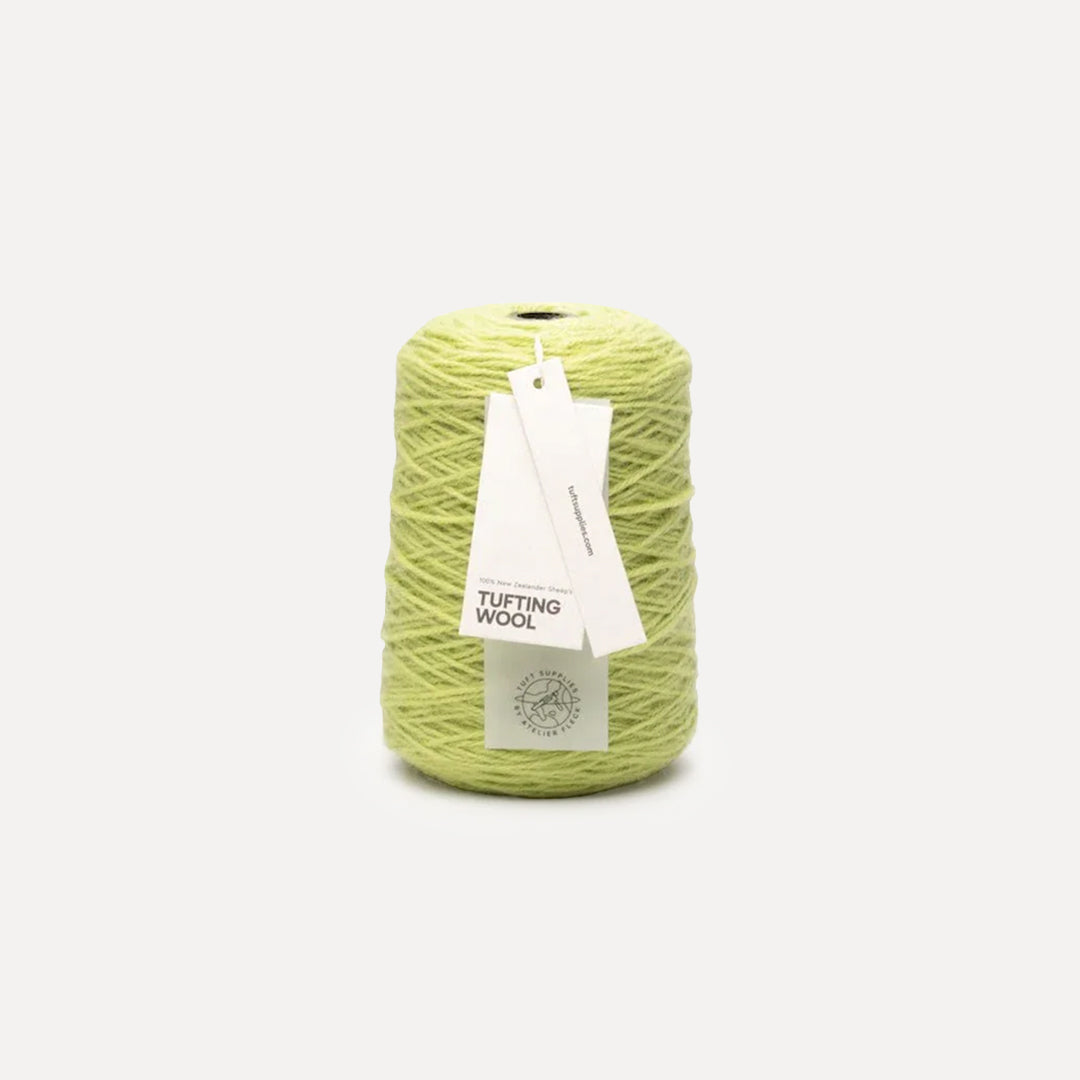
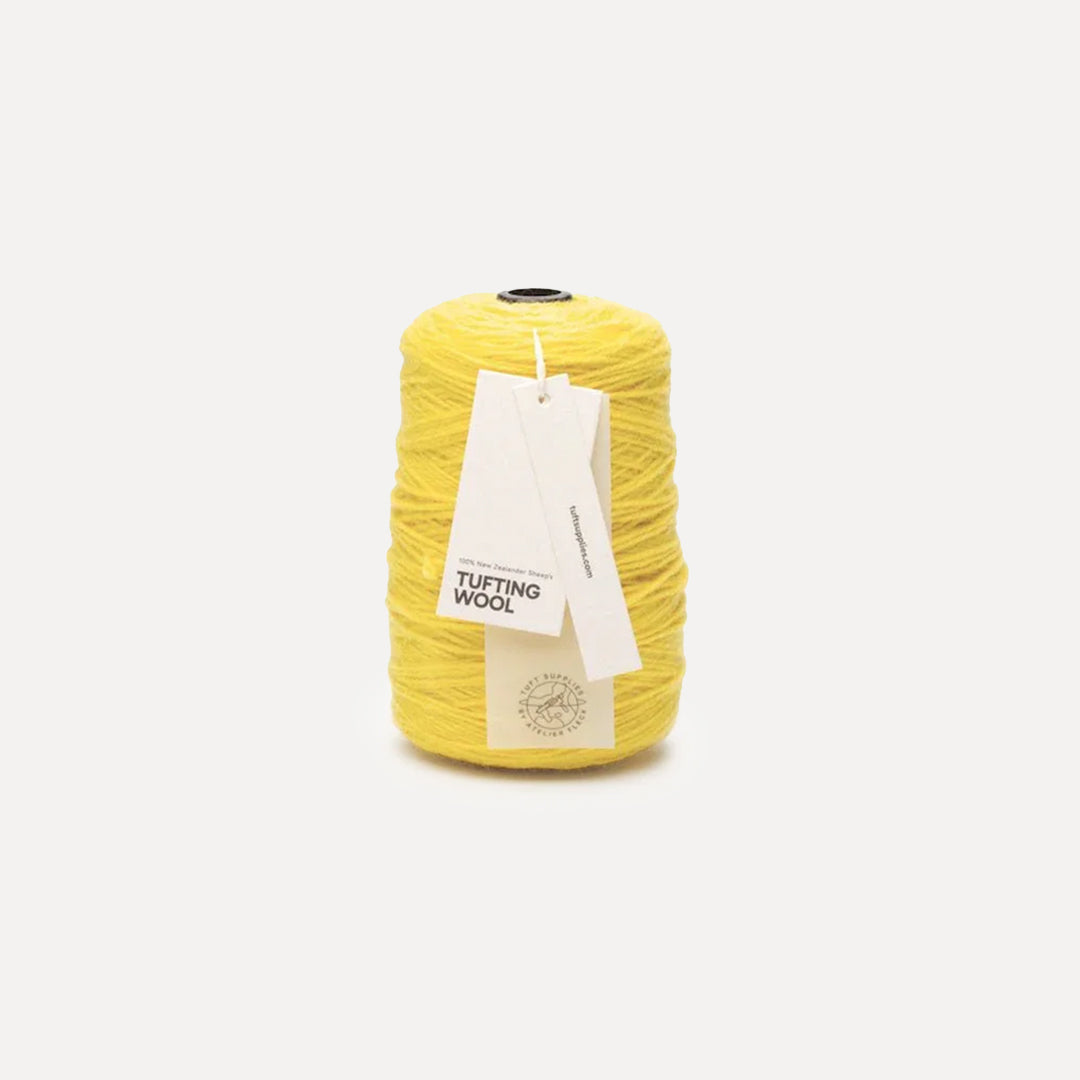
4. Yarn
The yarn determines the look, feel, and durability of your rug. The three most common materials:
| Material | Pros | Cons | Best for |
|---|---|---|---|
| 100% Wool (e.g. New Zealand wool) | Durable, natural, beautiful sheen | Slightly more expensive | Rugs that get walked on |
| Acrylic | Affordable, wide colour range, soft | Less durable, not sustainable | Wall hangings, first projects |
| Cotton | Natural, soft | Not suitable for floor use, less durable | Wall art and decorations |
Our recommendation: New Zealand wool is the best choice for beginners making proper rugs. It's durable, forgiving, and looks genuinely high-end.
👉 Shop tufting yarn — 100% New Zealand wool
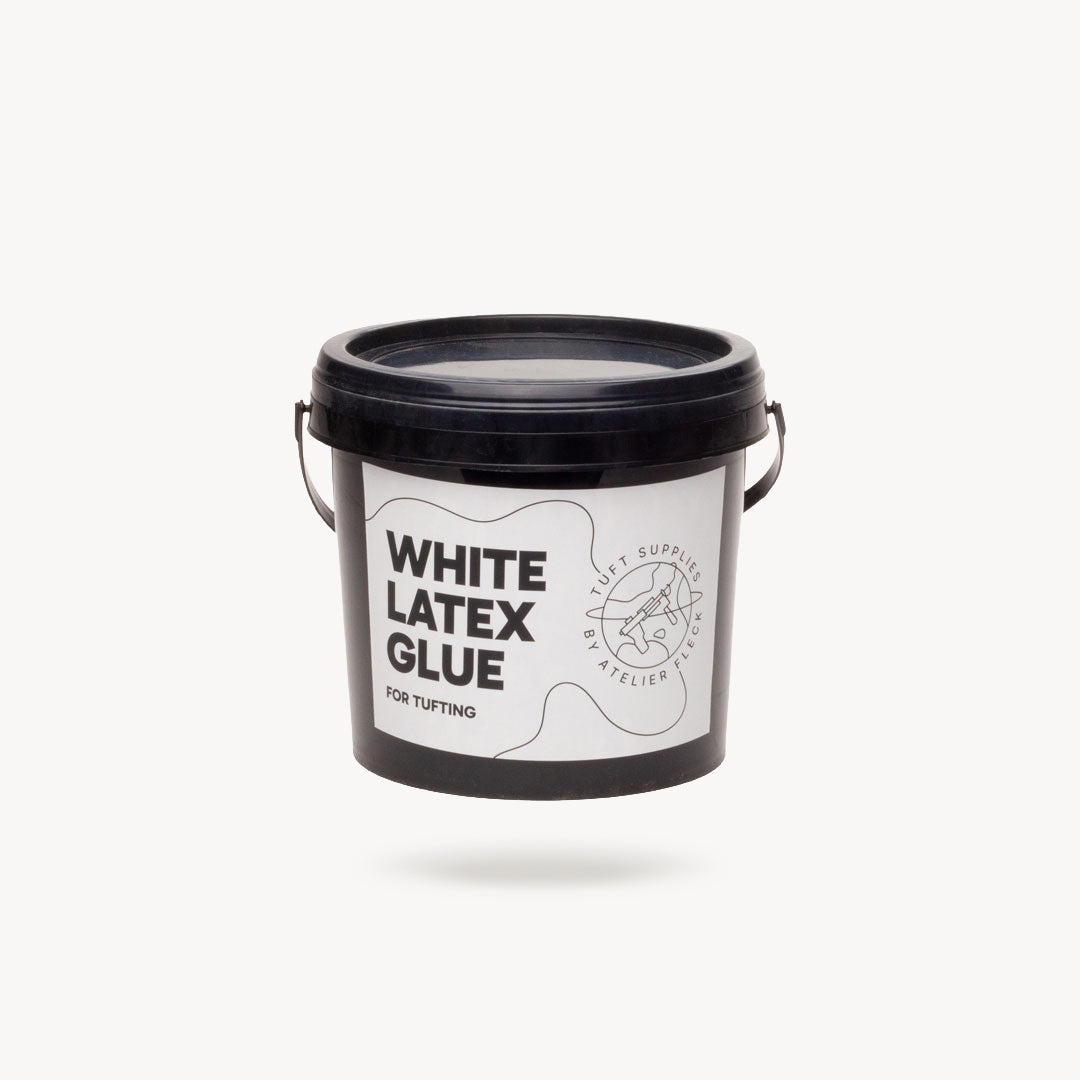
5. Glue & Backing
Once your rug is tufted, you need to lock the yarn in place — otherwise it'll pull out. This is done with special tufting glue (a white latex adhesive) applied to the back of the cloth.
Once dry, you can optionally glue on a non-slip backing cloth for a professional finish.
👉 Tufting glue at Tuft Supplies
Other Things You'll Need
- Scissors for trimming loose threads and evening out the pile
- Rug shaver / carpet trimmer for a smooth, even surface (optional but highly recommended)
- Transfer paper or a marker to draw your design onto the cloth
- Projector (optional) — many tufters project their design directly onto the stretched cloth instead of drawing it by hand
Step by Step: Your First Rug
Step 1: Prepare your design
Start simple — geometric shapes, letters, or bold outlines work best. The more detailed the design, the more practice it takes. Draw your motif onto the stretched cloth with a marker. Remember: you work from the back, so your design will be mirrored on the front.
Step 2: Set up your frame
Stretch the tufting cloth tightly over the frame — it should sound like a drum when you tap it. Position the frame so you can work comfortably from the back side.
Step 3: Thread the gun
Thread your yarn through both eyelets of the tufting gun (top and needle). A threading tool makes this much easier and is well worth having.
Step 4: Start tufting
Hold the gun perpendicular to the cloth, push the needle through, and move the gun steadily along your lines. The gun only works in one direction — rotate the machine when you change direction.
Tip: Start at one edge and work row by row. This gives you the most even results.
Step 5: Apply the glue
Once you're done tufting, apply tufting glue evenly across the entire back of the cloth. Let it dry for at least 24 hours.
Step 6: Finish
Trim any stray threads and run the rug shaver over the pile for an even surface. Cut the finished rug out of the cloth — and you're done!
The Most Common Beginner Mistakes (and How to Avoid Them)
The cloth isn't stretched tight enough. The yarn won't hold and the gun won't grip. The cloth really needs to be drum-tight.
Moving the gun too fast. The slower and more steadily you move the gun, the denser and more even the pile will be. Slow and clean beats fast and patchy every time.
Using the wrong yarn. Not all yarn works with every gun. Yarn that's too thin will break; too thick and it'll jam. Always use yarn designed for tufting.
Applying the glue too thinly. Skimping on glue means yarn will pull out later. Apply a generous, even layer — cover the full backing completely.
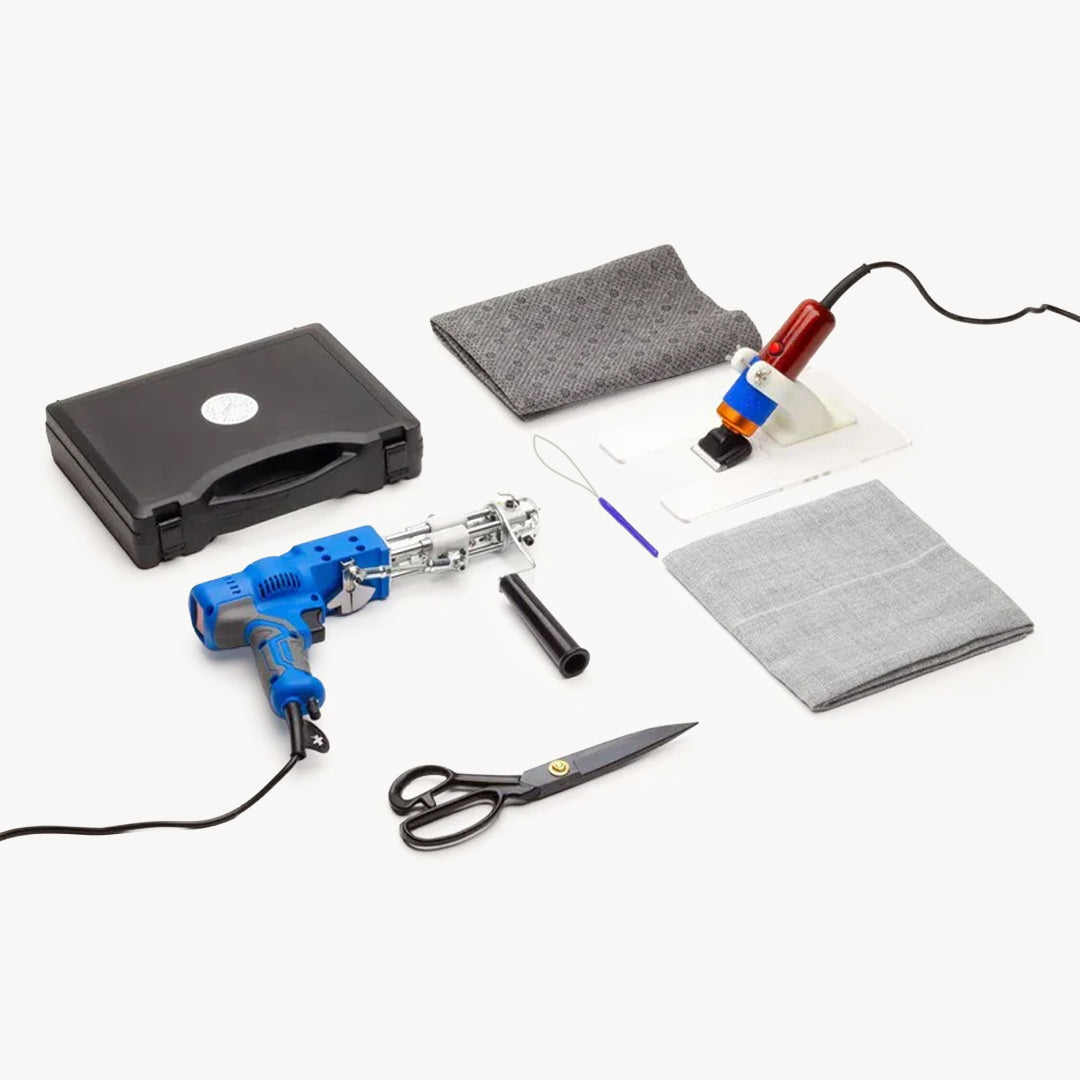
Starter Kit or Individual Products?
If you're starting from scratch, a Tufting Starter Kit is the easiest option. Everything you need, pre-matched and ready to go — no research required.
👉 View the Tufting Starter Kit at Tuft Supplies
If you already have a machine or want to pick individual products, you'll find everything sold separately in our shop too.
Learning to Tuft: Workshop or Self-Taught?
Both work. If you want a fast, structured start with someone there to answer your questions in real time, our workshop in Vienna is the best way to begin. You'll cover all the basics, work on a real project, and go home with a finished rug.
👉 Book a tufting workshop at Atelier Fleck
If you prefer learning at home: our Starter Kit, this blog, and our YouTube channel will get you a long way.
Summary: What You Need to Get Started
| What | Why |
|---|---|
| Tufting gun (cut pile) | The machine you tuft with |
| Primary tufting cloth | The base fabric for your yarn |
| Tufting frame | Keeps the cloth stretched tight |
| Yarn (wool or acrylic) | The material that makes your rug |
| Tufting glue | Locks the yarn into the backing |
Questions? The Tuft Supplies team is available by email, phone, or in person at our studio in Vienna. We tuft ourselves — and we're happy to help.


